

How a Backsplash Tried to Break Me (But I Had Caulk)
After 25 years of marriage, I suddenly found myself on my own, and let me tell you, I was determined to prove I could do all the things. Buy my own house? Done. Fix it up like a boss? Well… that part is still up for debate.
My new place came with a little “bonus feature”: a DIY subway tile backsplash courtesy of a previous homeowner who clearly thought “close enough” was the same as “measured twice, cut once.” Spoiler: it’s not. Some of the tiles overlapped the outlets so badly you couldn’t plug in a toaster without considering fire insurance. The whole thing was uneven, immovable, and generally offensive to my eyeballs.
So, out it came.
Cue me: one woman, one crowbar, and a strong suspicion I was about to regret my life choices. Those tiles were glued on like they were auditioning for the world’s strongest adhesive competition. I pulled out the stove, covered everything in paper (which did absolutely nothing to stop the dust), and spent a couple weekends waging war in my kitchen. By the end, I was fairly sure I had inhaled enough grout to qualify as a building material myself.
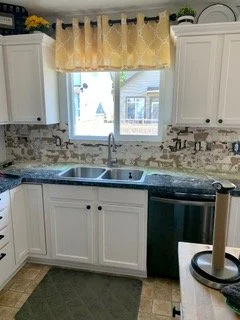
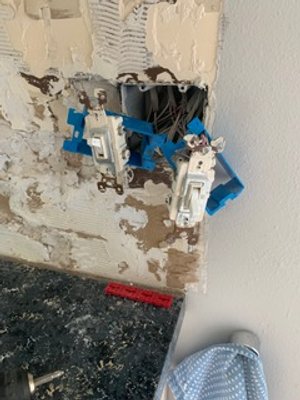
And because every DIY story needs a plot twist: when the tile finally came off, there was basically no wallboard left behind. Just gaping wounds in my kitchen walls. So I did what any determined woman would do. I bought what felt like gallons of spackle and slathered it on like I was icing a very sad cake. Smooth walls? Not really. But I was covering it up anyway so… (so basically I have no insulation - don’t tell anyone).
After hours and hours of cleanup with me shaking my head; what have I done, I decided to ditch the subway tile idea entirely. I had bead board in a nearby bathroom, so why not carry the look into the kitchen? Easy, right?
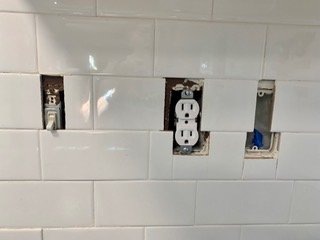
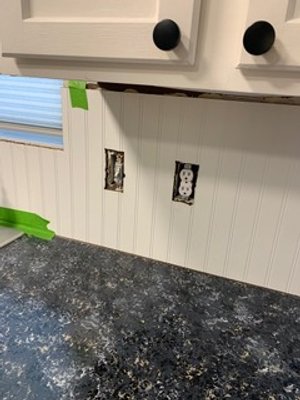
First came the outlets. Unlike the previous DIYer, I actually wanted my outlets usable, so I played the world’s least fun guessing game, using spacers to pull every outlet forward so it would sit flush with the new bead board once I placed it. It was equal parts electrical puzzle and personal test of patience.
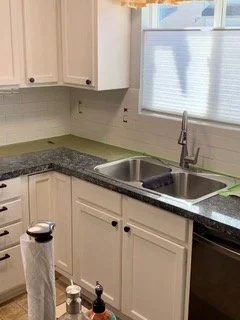
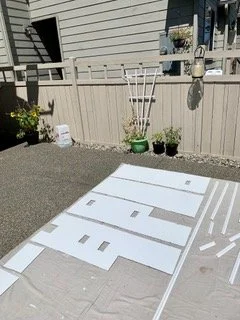
Next was measuring and re-measuring, because apparently walls are never as straight as they look. Then onto cutting bead board while muttering the words “what kind of saw SHOULD I be using”. After cutting, I painted the boards in the backyard, installed them, and added molding. Then came the real fun; would the outlets be out far enough. I finally screwed the covers back on, made a few adjustments and everything lined up. I may have done a little victory dance in my dusty kitchen.
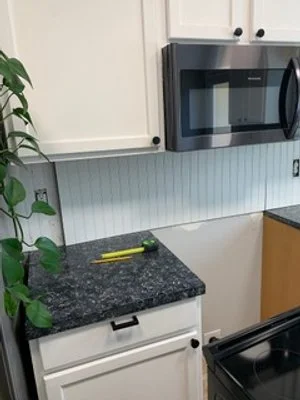

Finally, I caulked the seams and stood back proudly… only to realize the countertop now needed a touch up repainting too (an extra step I certainly hadn’t planned for).
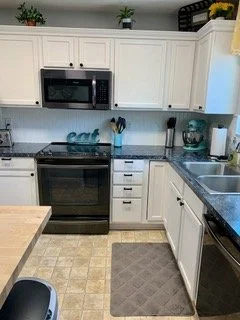
The end result? A charming bead board backsplash that actually looks intentional, some slightly bloody knuckles, and a newfound respect for professional contractors who charge triple what I thought was reasonable.
But I did it. By myself. And every time I walk into my kitchen, I get to smile and think: Yep, I survived that.